| A whole lot of progress in a whole lot of months
Life and work continue to get in our way, but that just makes the time working on “Ole Blue” even more special. We are long over due on updates and will try to be more diligent in our efforts.
Fits like a … jeep tub
Way back when we discovered that the original tub was beyond repair (at least for us) we did as much research as possible on replacement tubs. Since all reproduced tubs originate from the same factory, we know that we would have to do some “fitting”, drilling and “adjusting” to get a proper fit. While there was added cost in a Willys-Overland “Repli-Tub”, it was money well spent. They promise a bolt on fit and that is what we got. We did have to remove some metal to get clearance for the transfer case shifters, but this was minor work, well within our capabilities.
On the level
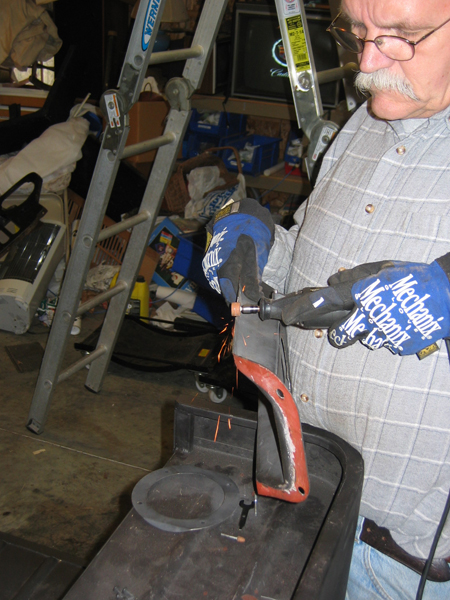
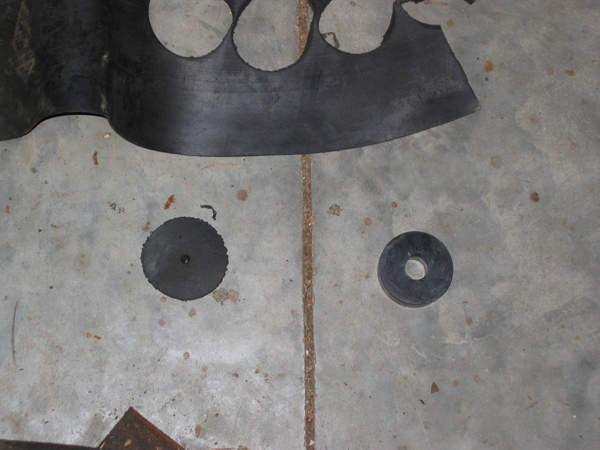
Among the “parts” that came along with the tub were rubber mountings, the size and shape of a hockey puck. We needed different sizes to level out the tub and spend some head scratching, trying to figure out how to slice them down to size. A little more historical research revealed that restores had found what appeared to be cut up tires used between the body and frame.
As you might have noticed, Barry’s garage is full of “stuff” and is often a source of frustration when trying work. But it is also a source of useful “stuff”, in this case a rubber tire liner that was just the right material for making our own mounts. A drill and a hole saw and we were in business. Much closer, we think, to the OEM design.
Dropping the bolts in place (no body work needed), we soon had an on the level tub.
Seats all around
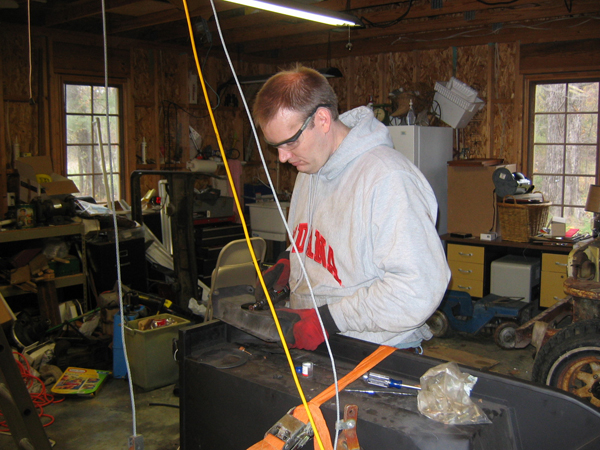
Along with a missing motor, Ole Blue had given up its seats. Sometime in the past, we had picked up a set of seats. Because of the slight changes in the tub from the 2a to the 3a, we needed to make sure we had the correct, 3a seats. Before we could mount the seats in the tub, we need to repair some metal work. A foot on the driver’s seat was missing and required a reconstruction. The seat also had a section of the tube frame rusted through, as did the passenger seat. We obtained matching steel tubing (from the metal rack at a local big box store) and mended the seats to the best of our abilities. They aren’t beautiful, but Evan noticed they were a pretty close match to some of the factory welds.
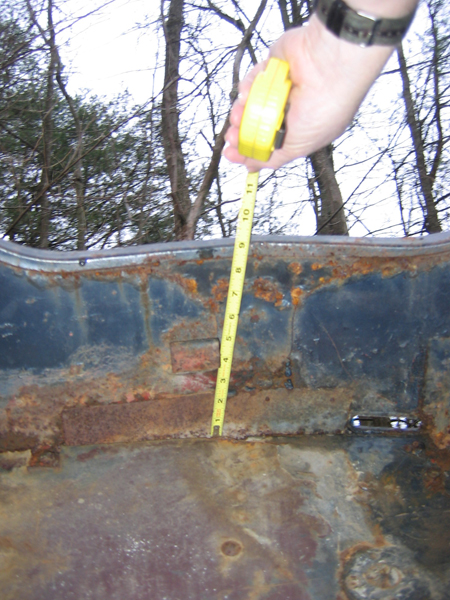
A trip to the old tub (now resting at the edge of the woods) yielded the passenger seat mounting brackets. While there, we took measurements locating both seats and the gas tank strap.
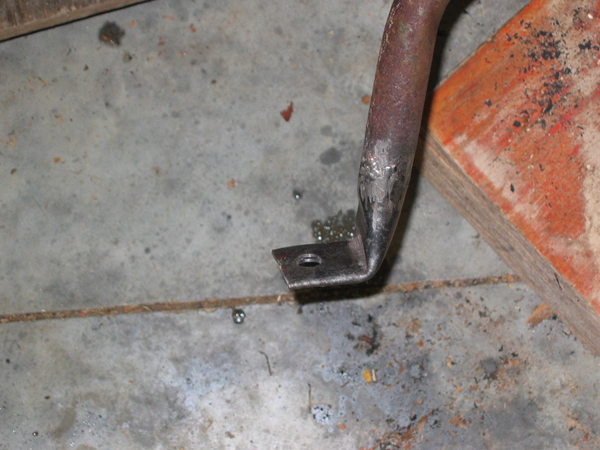
Tanked
One of the design “features” of early jeeps is the placement of the fuel tank under the driver’s seat. It is held in place by a small bracket and a strap. Before mounting the driver’s seat, we needed to weld a bracket to the floor and one to the inside of the body. It is a good thing the brackets are mostly hidden. The welds are ugly, but should keep the fuel tank in place. That seems like a good idea.
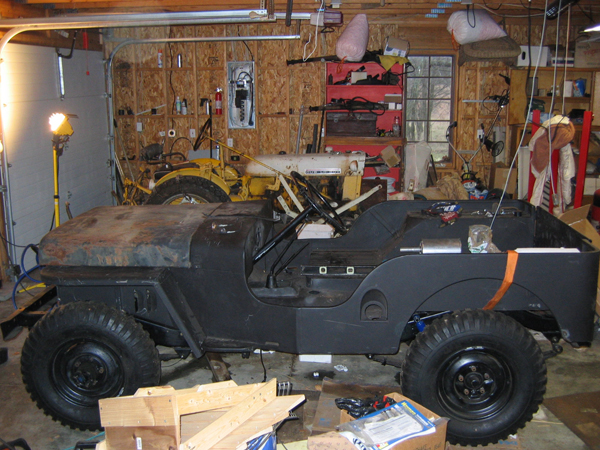
With the tank strapped in place (for now), we were able to position the driver’s seat. With the seats in place, this looked like something you might be able to drive!
In the hood
With the tub fitted, we moved on to other body parts. The new fenders attached without a problem. Next we attached the hood. We are using Blues original hood. In addition to the factory install dents, this hood has taken a beating. We are still going to have to straighten the hood and after some hammer work, it is beginning to look like a job for the pros.
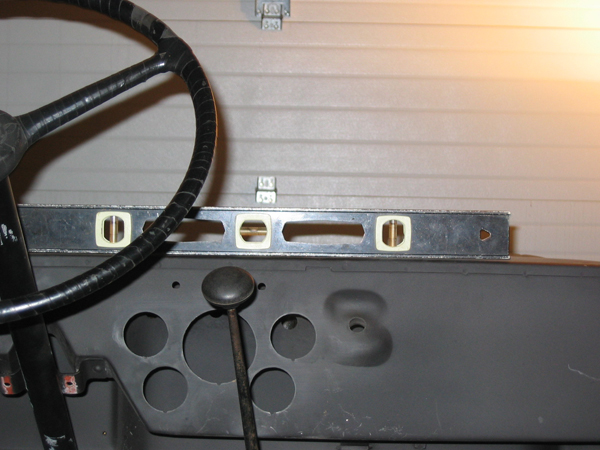
Finally, we started to mount the windshield. Even though you might recall from reading early reports, windshields have historically not been a part of our jeeps. But since this jeep is expected to be road worthy, we want to have it as an option. When we lift it in place (especially easy, since it is missing the glass) we found that the arms were sprung out by a couple of inches. Another job for pros.
Paintful decision
With the body parts all assembled, we fought off the temptation to get side tracked by doing enough wiring and plumbing to take a test run. We would get the body painted and on for real. The paint color decision was made early on – the original Normandy blue. We had even obtained reproduction lacquer paint, when we had intentions of doing the painting ourselves. Doing so would mean building a painting booth and upgrading the garages compressed air system (we would need to add filters and driers for a start). Then there was the matter of time. The more we discussed what was involved, the more we believed this was a job we should outsource.
Luckily, the family wrecker and body shop is just 10 minutes up the road. We disassembled the parts and loaded them in a small trailer. We did note that removing the tub is a lot simpler than replacing it. We also took along our lacquer paint and an original paint chip card we had picked up at some point.
The good news was the shop could hammer out the hood and fix the windshield. However, they no longer work with lacquer paint and neither do most of the body shops in our part of the country. Given the choice of trying to locate a shop who would use the original paint or using a more durable modern enamel, we picked going for the best match and newer technology (but no clear coat).
We unloaded the trailer and headed back to the garage. Barry’s head was still spinning from the estimate (which included a family discount), but Evan was already making a list of things to be done before we could mount the body.
Next up
Control the bleeding.
Barry’s notes: I no longer doubt that we will be on the road with what has for so long been a pile of parts. Seeing the complete body on made that possibility very real.
Evan’s notes: My only real concern with "outsourcing" the painting is that the finished product may turn out to be too nice. We're talking about a farm jeep here! They're not supposed to be clear-coat shiny, they're supposed to look like you painted it in your garage... or barn.
|
