| Take her for a spin
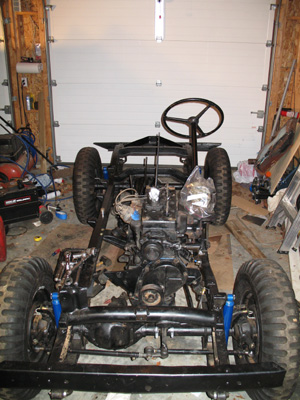
With the motor running, it was now time to move on to a couple of more tests before the mounting the body for a fitting. We wanted to check out the clutch, transmission and transfer case. During the test fire, the transmission and transfer case were in neutral and the clutch engaged. While it wasn’t possible to do a test drive – lacking a seat among other necessities - Barry decided a test drive with the jeep on jack stands would work. Evan said “Great idea, especially if you would like a new door added to the rear of the garage.” As in what might happen if it slipped off of the jacks while all wheels were engaged.
Plan B
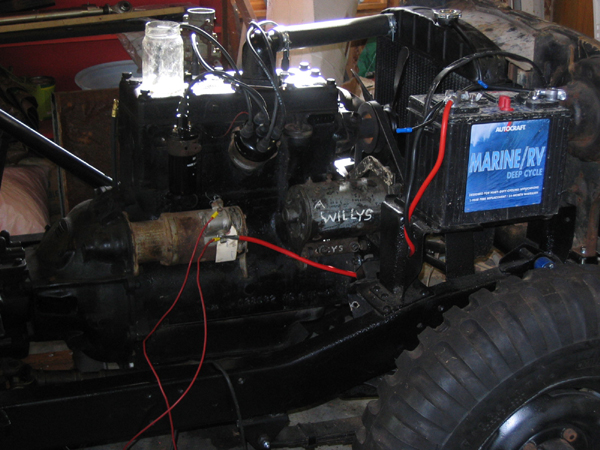
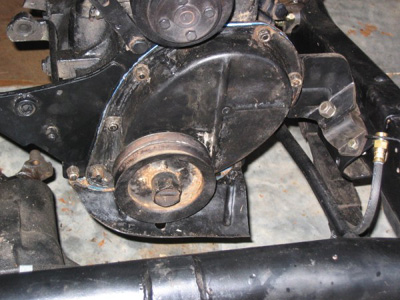
Evan suggested that disconnecting the drive shafts might be a safer and saner approach. While Evan removed the shafts (and some of the thrill), Barry rigged up the generator wiring, with the new regulator and amp meter. The generator is a 12 volt model, since we are upgrading from 6 volt to allow us to run a 12 volt hydraulic pump.
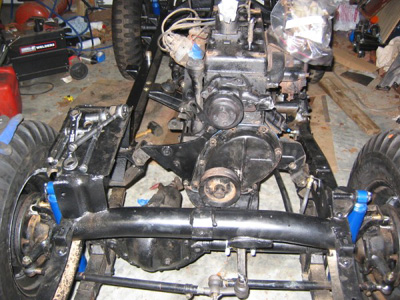
Starting the engine went as before, with Evan working the controls. Now the testing began. Evan worked the clutch pedal and we engaged the transfer case and transmission for the first time. Evan eased up on the pedal and the rear shaft started to spin! Barry moved more levers (with Evan doing the clutch work) and we had the front and rear (four wheel drive!) working. No clangs, bangs or bad sounds!
No charge for that
While parts were spinning along, it appeared the generator wasn’t doing its job. The meter showed a discharge when cranking the engine, there was no indication that we were producing juice. We have located a repair shop and will take the generator in for testing and repair.
The body in question
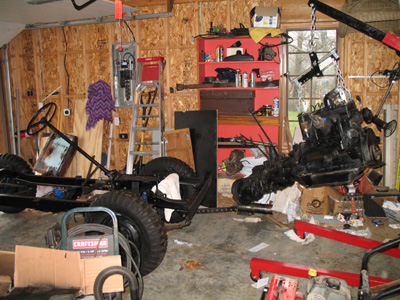
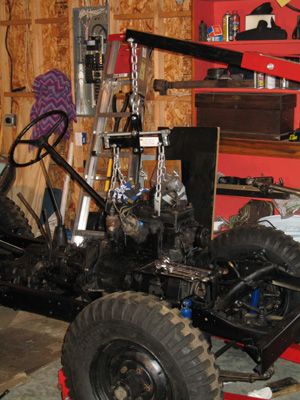
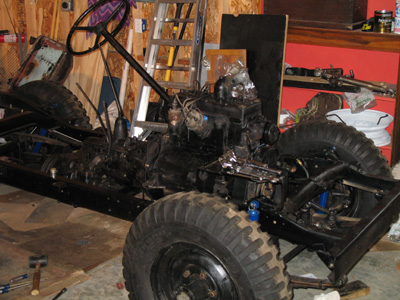
For the past few months, the new tub has been resting comfortably on the floor of garage, in front of the 2a’s parking spot. It has been a handy place to stack manuals and other items, but the time had come to prepare it for its new home. We decided the best course of action was to take the chassis to the body. We moved the 2a and pushed the chassis out on the drive and turned it around so the body could be lifted on from its resting place.
For fitting and testing purposes, we used duct tape to secure the body mounts in place. This was a nice tip we picked up on our visit to Willys-Overland. A nice jeep feature is the simplicity of the body. Just a tub, fenders, grill, hood and tail gate. The tub is the largest part, but the two of us can lift it.
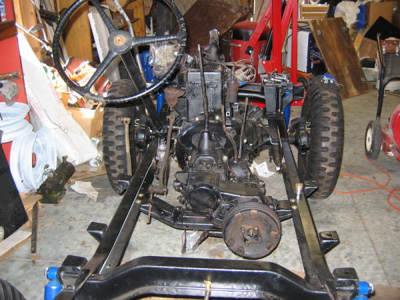
The body had been resting on a couple of dollies and was easy to spin around. With a couple of grunts, we were able to lift the body up on the frame and over the steering column (with the wheel removed). But no matter how hard we tried, we couldn’t get the gear shift and transfer case handles within 6 inches of the body opening. Something isn’t right.
I remember when
We debated removing the steering column, but tried to figure out how much of a headache it would be to reinstall it with the body (and motor) in place. Barry recalled that the nice folks at Willys-Overland said that you could remove the transfer case shifters for the test fit, but you had to put them back before the final body install. He also recalled that the old tub had been lifted off with the steering column and shifters in place.
A quick review of “Part 3 – Body Blues” clearly showed that we had been able to remove the old tub by lifting it up. Neither of us could remember the exact way we had gotten it off. But lifting the body higher seemed to be in order.
Up lifting experience
The old Ford has been replaced with a shiny new tractor and that was a clear option. We could use the front end loader and try reversing the removal procedure. However, weather has become a factor. We are heading into winter and it was raining on and off while we were moving the jeep to mount the body. An indoor solution seemed like a good idea.
A few years ago, Barry had purchase a one-man jeep top removal kit for the CJ7. This consisted of a metal “T” with “J” hooks that fit under the doors and the rear lift gate. The “T” was attached to the end of a come-along. Screw an eye-hook in the ceiling, attach the pulley, anchor the end of the come-along and crank away. This seemed like a workable solution, replacing the “T” with a nylon strap harness.
Twist and shout
With the rear of the body up in the air, it still didn’t seem possible that the body would slide down the steering column and align with the holes for the shifters. At some point, mostly likely after heating up the garage with several four letter word combinations, we twisted the body toward the driver’s side. The gear shift popped through the transmission tunnel! Shouts of joy!
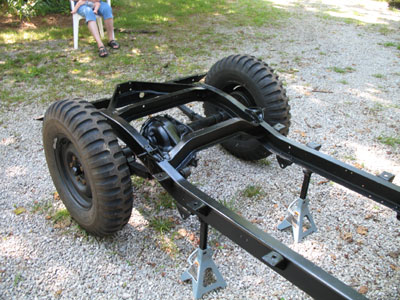
More twisting while simultaneous lowering the rear and with Paula pushing from the front was needed to get the body to slide down and over the transfer case shifters. A quick check showed a good fit, although we have two of the rear body mounts in the wrong location. But it sure looks nice!
Coming up next
We need to make sure of the tub fit and alignment, including all the pedal holes (which appear dead-on) and pto shifter and we will also attach the new fenders to make any adjustment to their fit. We will need to weld the fittings for the gas tank strap in place and check for other modifications. We will need to make some decisions about painting options – do we outsource?
Stay tuned!
Barry’s notes: I can see spring time jeep rides!
Evan’s notes: So, you may be thinking "they got the body off, how come they couldn't remember how they did it?" When we pulled up “Part 3 – Body Blues” to look at the photo we also noticed the page was dated October of 2003. Honestly, how many of you remember anything from 4 years ago? Whatever the case, I can't believe we picked up the 3A as a parts jeep in April of 2003, it doesn't seem like that long ago.
|


